
In this article, we will show you how to easily “install Oracle Client on Linux” and configure it, so that you can connect to your Oracle database.
Whether you are using a local Linux machine or a cloud server with a Linux version installed on it, you may need to connect to a remote Oracle Database. I am currently connecting to an Oracle Autonomous Database, but you can use it to connect any remote Oracle Database.
Step 1. Upgrade Your System and Install Necessary Packages
sudo apt update && sudo apt upgrade
sudo apt install unzip
sudo apt install curl
sudo apt-get install libaio1 libaio-dev
I’ve encountered:
sqlplus: error while loading shared libraries: libaio.so.1: cannot open shared object file: No such file or directory
Therefore, I am installing the libaio1 libaio-dev package.
Step 2: Download Instant Client and Sql Plus Files
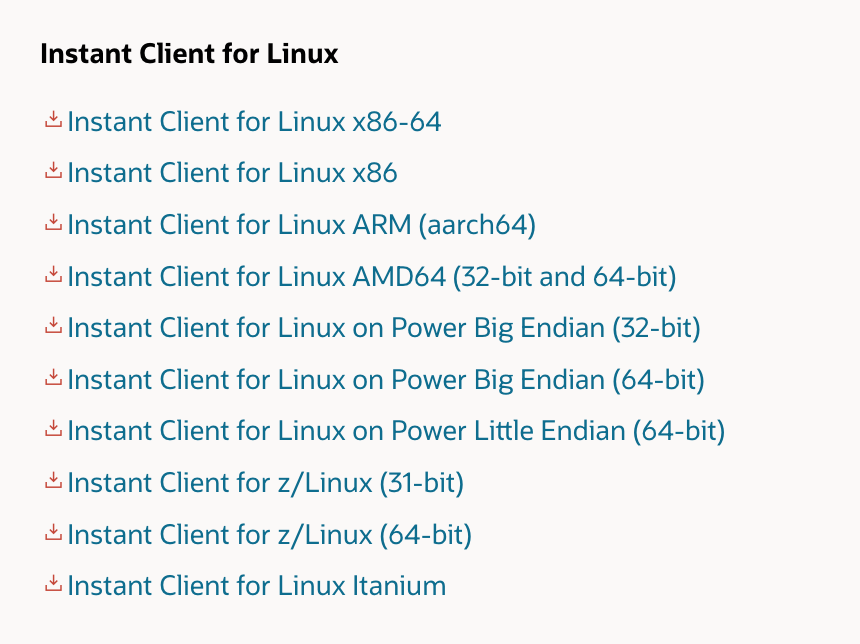
ATTENTION: CHOOSE ACCORDING TO OPERATING SYSTEM: These links will be different, for example, Linux ARM (aarch64) etc..
In order to find the architecture of your machine, you can use: hostnamectl command.
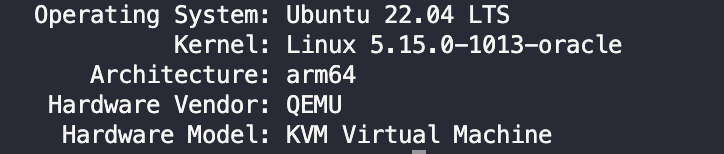
Our architecture ise ARM64, so we will choose Oracle INSTANT Client download accordingly. Here, we will download Oracle Instant Client Downloads for Linux ARM (aarch64). If your architecture is x86-64, you need to download from this page:
sudo mkdir downloads
cd downloads
#Oracle Instant Client with SQLPlus
sudo curl --remote-name https://download.oracle.com/otn_software/linux/instantclient/191000/instantclient-sqlplus-linux.arm64-19.10.0.0.0dbru.zip
#if you don't choose the right OS version, you will get "cannot execute binary file: Exec format error" error!
Step 3: Create a directory and unzip all files there
cd
#create directory
sudo mkdir /opt/oracle
#go to the directory where zip files are located
cd downloads
#unzip the zip files to the directory that you have just created (i.e. /opt/oracle)
sudo unzip instantclient-basic-linux.x64-21.4.0.0.0dbru.zip -d /opt/oracle
sudo unzip instantclient-sqlplus-linux.x64-21.4.0.0.0dbru.zip -d /opt/oracle/
Step 4: SQL Plus Configuration
We are going to open the .profile file and set the necessary environment variables.
The export command sets the environment variable to the value on the left side of the task. This environmental variable looks at the process that defines it and all the subprocesses created in the same environment, in this case the bash, where the source is ~/.profile , and all the subprocesses created in the same environment.
# Open the .profile file
nano ~/.profile
# set the environment variables
export PATH="$PATH:/opt/oracle/instantclient_21_4"
export LD_LIBRARY_PATH="$LD_LIBRARY_PATH:/opt/oracle/instantclient_21_4"
Close and save the file. Then execute the .profile file using source command. Don’t forget to reboot the system!
source ~/.profile
sudo reboot
Step 5: TNS Settings
If you are using Oracle Autonomous Database, you can download the Wallet which contains all relevant connection information, including tnsnames.ora file.
After you download it, just unzip and copy the unzipped files into the network/admin directory in your server where you placed the instant client files as above. The network/admin directory is already created when you unzipped the Oracle instant client files.
First I downloaded the wallet to my local machine and unzipped it. Then I’ve used Forklift software to upload the contents of the wallet to the network/admin directory.

Step 6: Connect to the Oracle Database
TNS information is in the tnsnames.ora file.
That’s it. You can now connect your Linode, Vultr or DigitalOcean Linux server to an Oracle Autonomous Database.